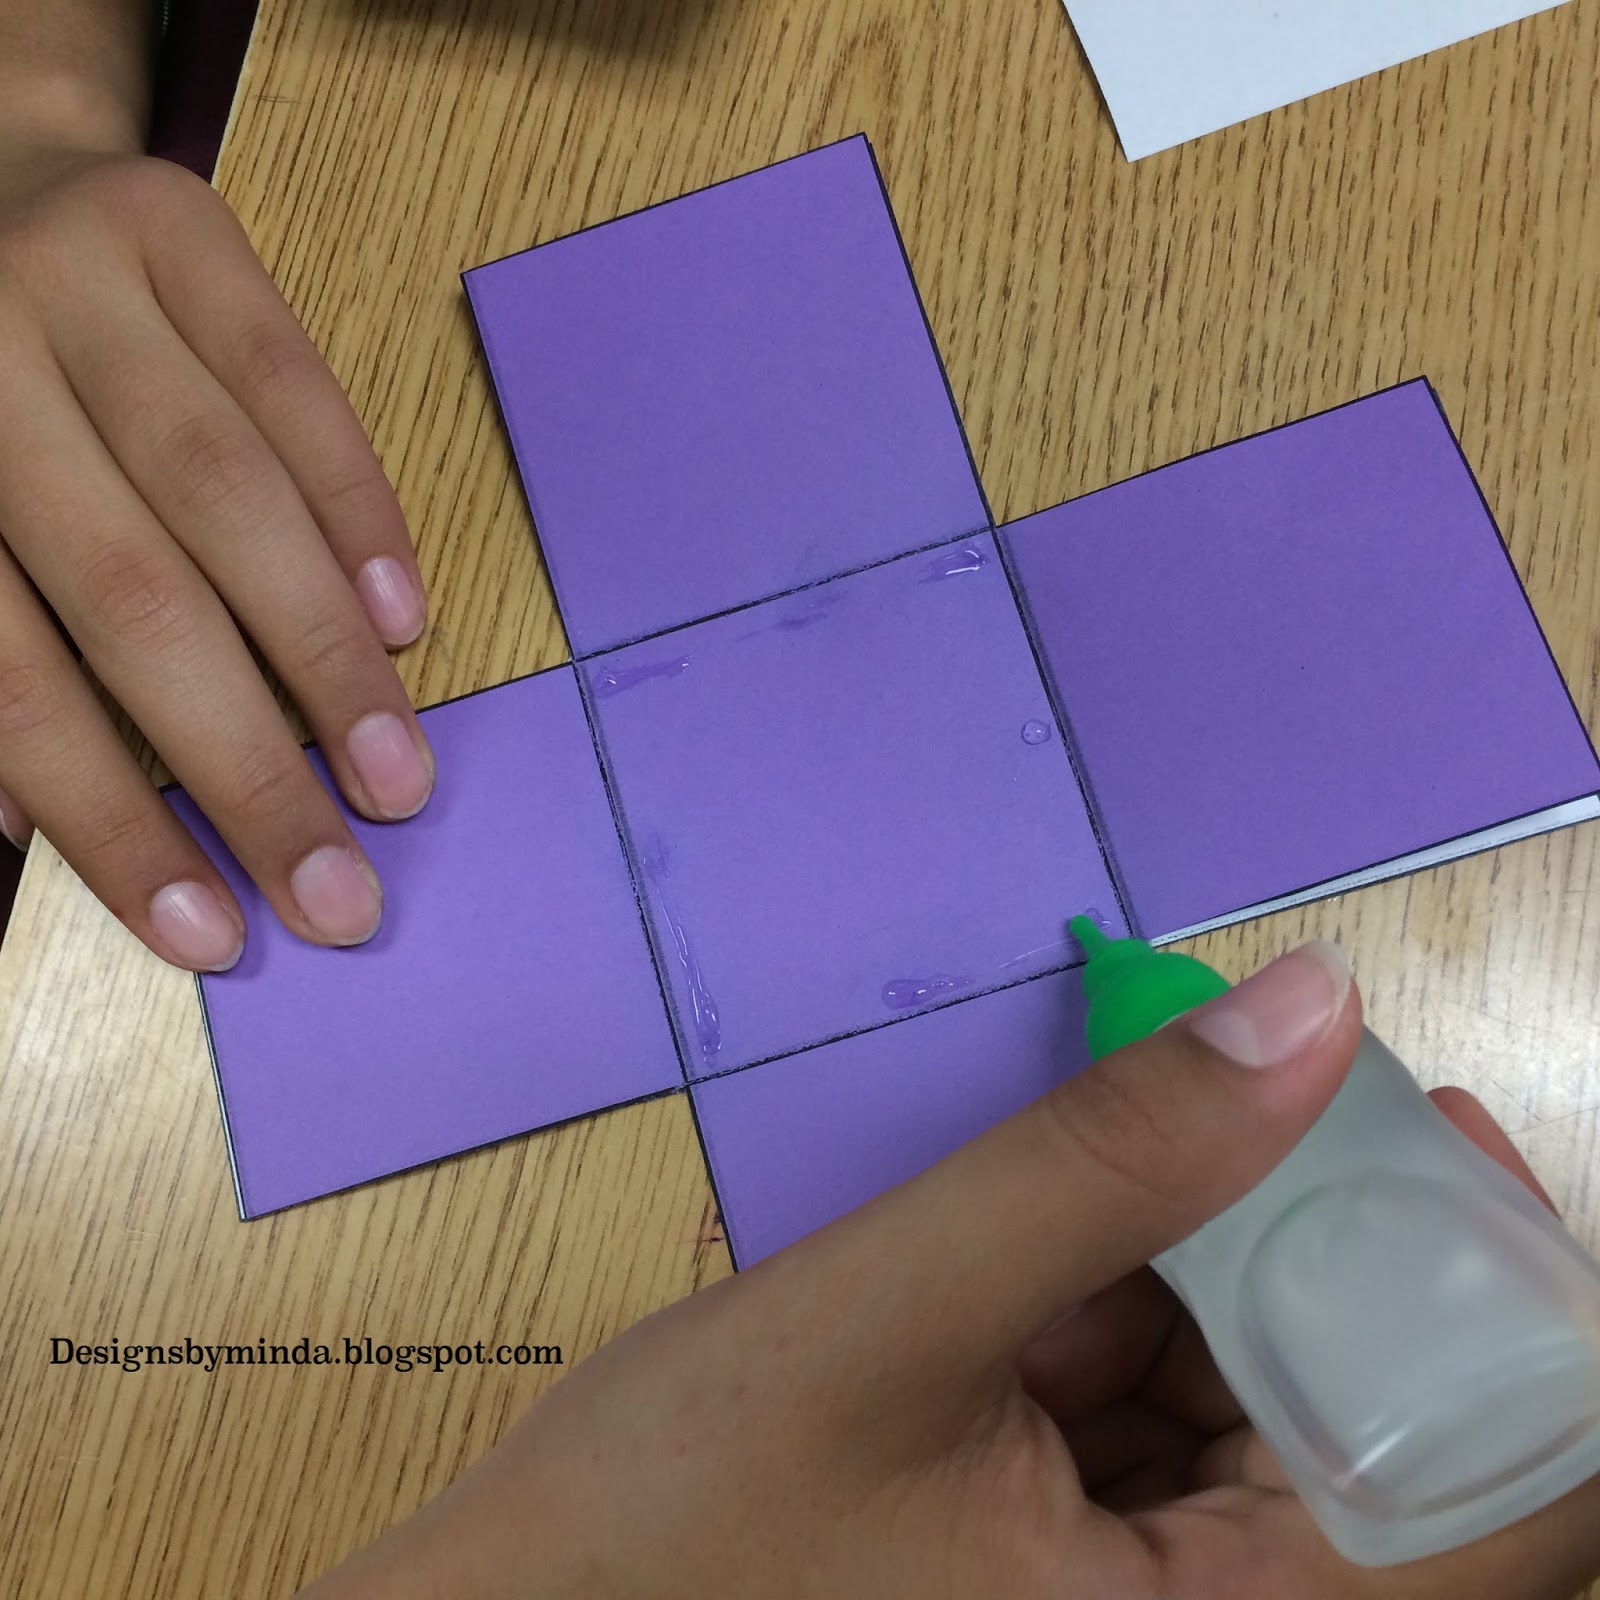
I have had a great time teaching sixth grade for the past nine years. Since I will be moving to 5th grade next year, I thought it would be special to finish off this year with my students creating smash books of their last year in elementary school. My objective was for them to remember their last year in a fun, unique, and creative project. I hope that they will look at these books in the future and remember the year fondly.
Supplies
composition books
stickers
markers
colored pencils
pencil
construction paper
glue
scissors
The first thing I did was give a mini lesson on what a smash book is. My students liked the idea that there is no wrong way to do it. They were excited to be able to express themselves freely through this activity. The pictures included have captions of what my students actually said about their experience.

"I loved being able to express my creativity with supplies I brought from home during this activity"

"I liked having a different theme to write about on the pages"

"I was able to use the theme pages and also use my own stickers to add to the two page layouts our teacher taught us to do"

"I really liked being able to express my personality in this project. I was good way to relax and calm down."

"the best part about it was I could do it my own way"

"This was a good activity to do at the end of the year because it helped me remember my year and get ready for next year"

"I liked being able to look back at the best parts of my last year in elementary school."

"I was so excited when I knew I could include my own drawings on the pages. I love to draw and now I know I can mix writing and drawing in a smashbook."

"The best part is that I get to put my own style and flavor into my smashbook."

"I liked doing the smashbook because I could show my feelings and let my classmates get to know me better when they read my book."

"I don't like writing so much, but I still can be creative in a smash book. I used construction paper to make the basketball hoop to match the sticker I found and to make the space shuttle to remember when we went to the Science Museum on a field trip"

It was so fun watching the students create their smash books. They worked on them all week and as the week went on, they got more and more comfortable with putting their own creativity into them. I am happy with how they turned out and what the students were able to get from this activity.
This end of the year is a bittersweet time for me. I will be retiring in a few years and I am sad that I will not teach sixth grade again in my career. However, I am looking forward to teaching 5th grade next year and continue crafting in the classroom with that class.
Thank you for visit my blog today and please leave a comment to let me know how you liked this project. Have a great weekend!!
Love and Blessings,
Erminda